Showing posts with label distress inks. Show all posts

Wednesday, June 27, 2012

One technique - three cards

Club Scrap invited me to be the guest blogger this week, and I thought it would be fun to show you more of the techniques I used to create the Greeting to Go cards this month.  Over on their blog, you'll see one technique two ways, and here I'll show you how I made three cards with one technique.

I started by putting some distress ink (Vintage Photo, Peeled Paint, and Weathered Wood) on my Ranger non-stick craft sheet.

Spritz with water to get the colors to blend - wow do they pop after a bit of water!  I put my stamp on a grid ruler so lining it up would be easy while stamping.

Press your stamp in the "ink pad" on your craft sheet, and ink away!

I kept rotating the stamp and cleaning it so the pattern wouldn't be uniform.

I added a little more ink, but less water to create a second panel.  Adjusting the water can really change the stamped image.  I like both of these, but they definitely look different.

For my first card, I cut a lot of circles with a punch.

The edges were inked with vintage photo distress ink to give a bit more depth.  My handy grid ruler helped me find the center of the panel:

And to align the rest of the circles.  This part was inspired by another blog post using circles on a card.

To make the edges a bit glitzy, I rubbed versamark ink onto the edges, and then sprinkled gold embossing powder over the edges.


Add a bow, and you're done!

To create the other two cards, I die cut pieces from the paper to fit stamps.

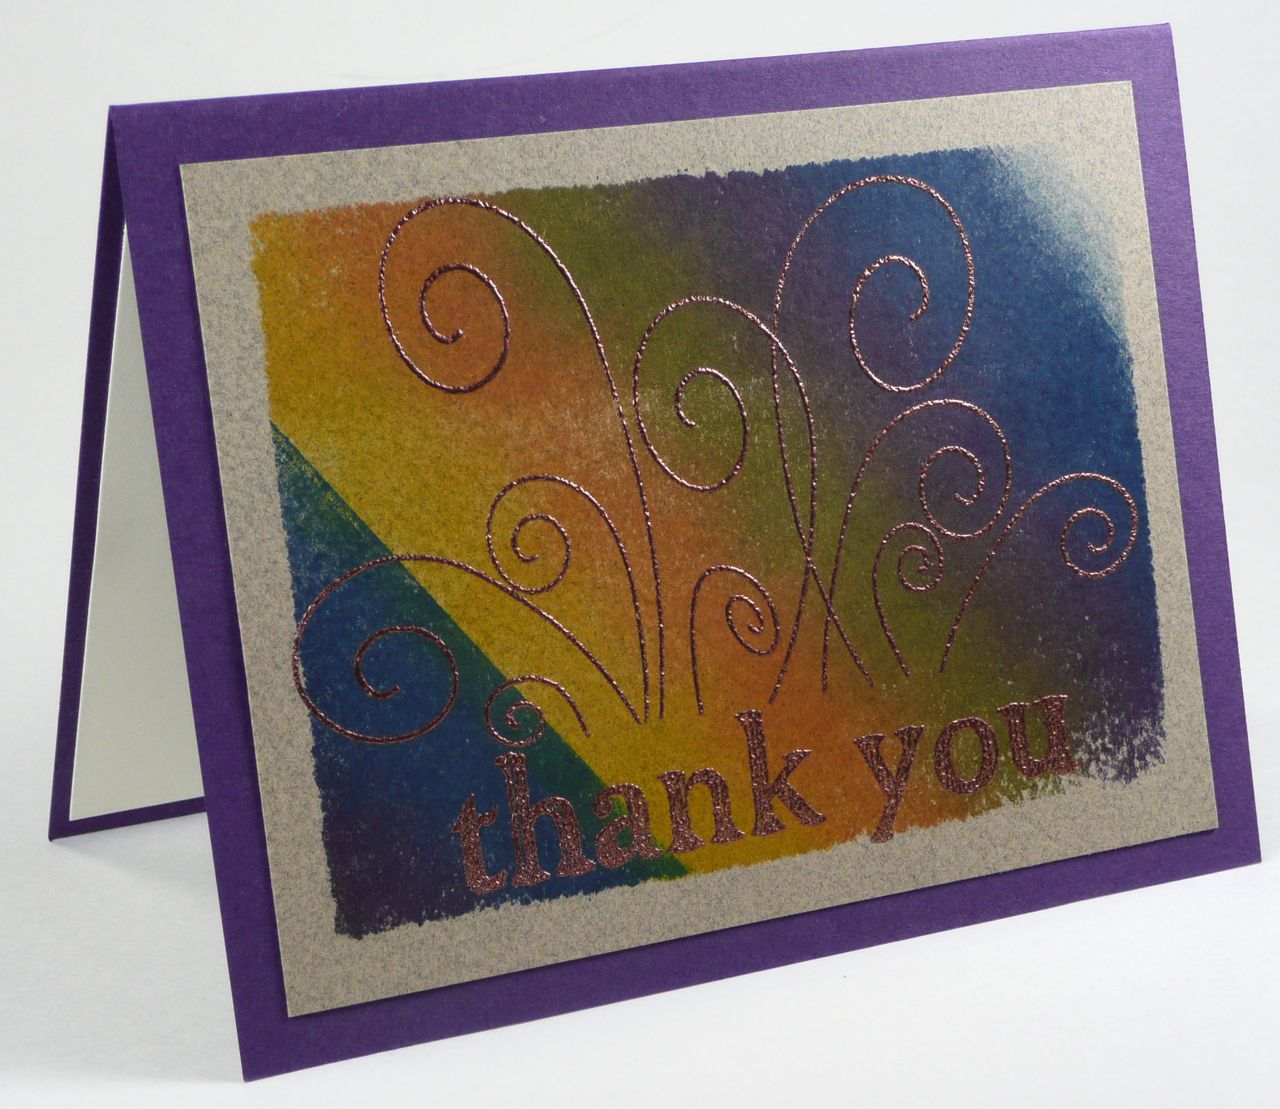
These images were embossed with copper embossing powder.

A little distress ink on the edges helps to add depth.

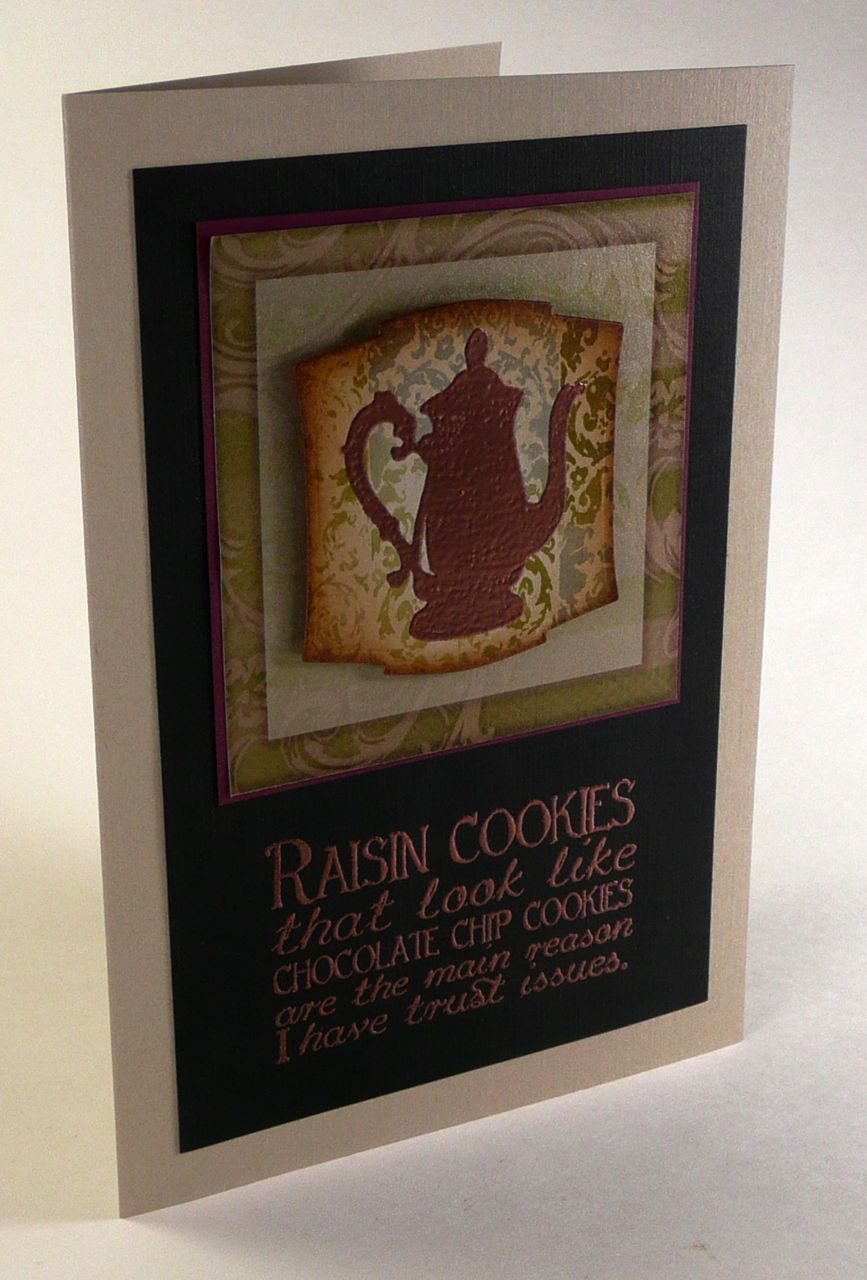
Add some embellishments and a greeting, and you've got two more great cards.


I love how this kit can be used for vintage-y feeling cards, as well as for bright and cheerful cards.  Check out the Club Scrap blog on Wednesday to see a totally different vibe for the stamps and paper from the Bon Appetit collection.

Thursday, October 27, 2011

Crafting for fall - cards with distress inks

I'm still in the mood to play with distress inks, and I had several friends I wanted to send cards to. These are the results! If you missed me playing with distress inks, be sure to check out my earlier post.  Most of the paper is from the Scholarship and Adobe kits from Club Scrap - some great blues and tans in there.

Stamps and punch from Stampin' Up!

On these next two, I had a lot of fun using my Tim Holtz Tiny Attacher.  Check out my earlier review if you want more information on this cool stapler.
Punch and friend stamp - Stampin Up!; Leaves from Club Scrap.

Sunday, September 25, 2011

Masking and distress ink to create artistic card panels

Near the lift bridge, fall is pretty inspiring.


I'm getting ready for fall, and have thanksgiving in my brain.  If you hadn't figured it out by now, I'm really into using masking tape to make card panels. I wondered what would happen if I made larger panels that would be the whole card, and if I could replicate some of the colors I see in the fall.

Here are a few examples of my finished cards.  This first card uses metallic inks from Club Scrap, along with some dimensional paint and ribbon.


This card was brayered using a multi-color ink pad. I embossed on top using a copper embossing powder.

Finally, I did more playing with distress inks and water.  I was going for a brighter look, and I really like how these turned out.

The card just above and the rest below matched what I had envisioned the best.  If you'd like to see how they're made, check out my latest video:


I hope you enjoyed a peek at these cards and the beauty of fall in your area of the world.  If you're lucky enough to live by a lift bridge, you can get inspired by the majestic colors around you.


LinkWithin

Related Posts Plugin for WordPress, Blogger...