Wednesday, June 27, 2012

One technique - three cards

Club Scrap invited me to be the guest blogger this week, and I thought it would be fun to show you more of the techniques I used to create the Greeting to Go cards this month.  Over on their blog, you'll see one technique two ways, and here I'll show you how I made three cards with one technique.

I started by putting some distress ink (Vintage Photo, Peeled Paint, and Weathered Wood) on my Ranger non-stick craft sheet.

Spritz with water to get the colors to blend - wow do they pop after a bit of water!  I put my stamp on a grid ruler so lining it up would be easy while stamping.

Press your stamp in the "ink pad" on your craft sheet, and ink away!

I kept rotating the stamp and cleaning it so the pattern wouldn't be uniform.

I added a little more ink, but less water to create a second panel.  Adjusting the water can really change the stamped image.  I like both of these, but they definitely look different.

For my first card, I cut a lot of circles with a punch.

The edges were inked with vintage photo distress ink to give a bit more depth.  My handy grid ruler helped me find the center of the panel:

And to align the rest of the circles.  This part was inspired by another blog post using circles on a card.

To make the edges a bit glitzy, I rubbed versamark ink onto the edges, and then sprinkled gold embossing powder over the edges.


Add a bow, and you're done!

To create the other two cards, I die cut pieces from the paper to fit stamps.

These images were embossed with copper embossing powder.

A little distress ink on the edges helps to add depth.

Add some embellishments and a greeting, and you've got two more great cards.


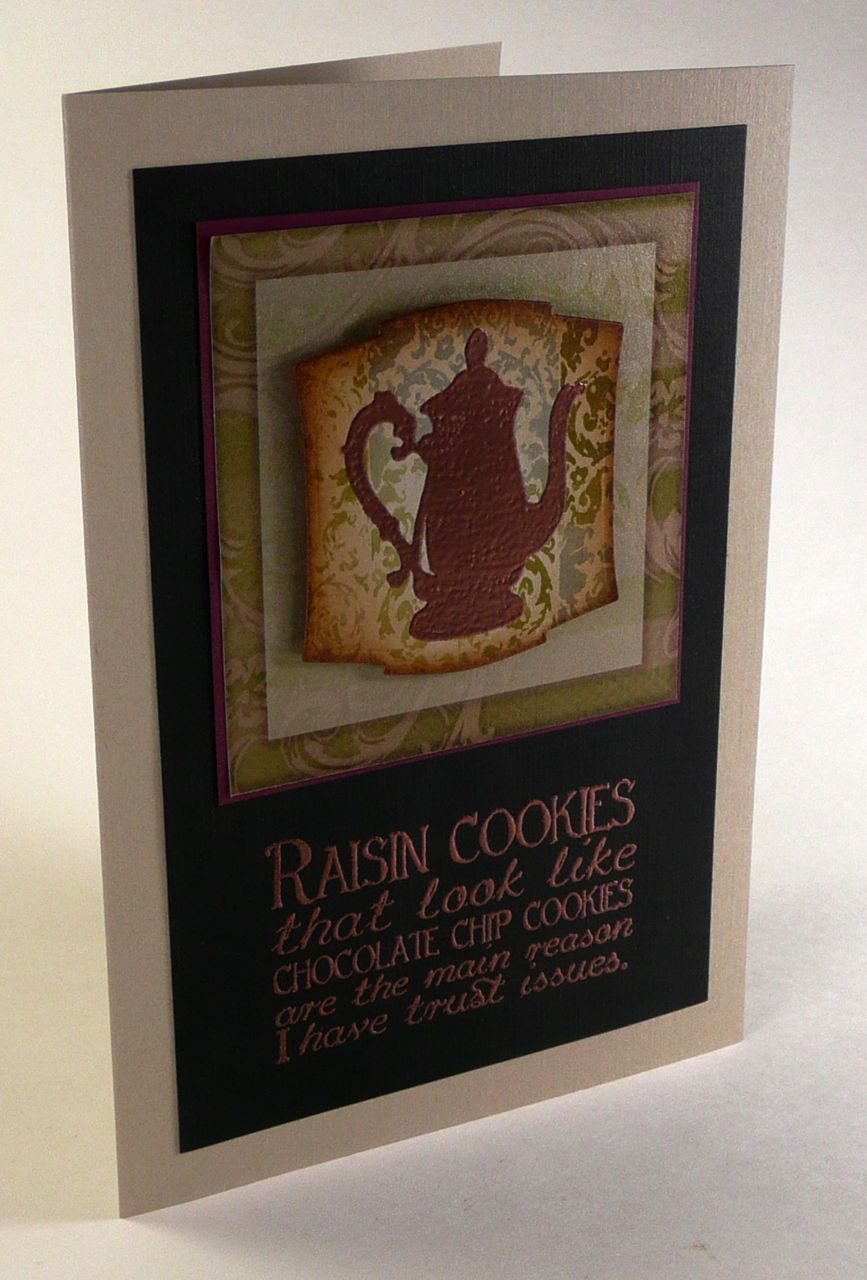
I love how this kit can be used for vintage-y feeling cards, as well as for bright and cheerful cards.  Check out the Club Scrap blog on Wednesday to see a totally different vibe for the stamps and paper from the Bon Appetit collection.

Monday, June 18, 2012

Happy Father's Day

My dad loves trains, so I made him a train-centric card for Father's Day.

Except for the train, all stamps are from Club Scrap's Orient Express collection.  Paper and the train stamp are from Stampin' Up!  I colored the frame image with colored pencils, and then blended the pencils with gamsol/low odor thinner.  It's an easy way to blend the color, and get a really nice variation in shading.

Hope you had a great day with your fathers.  If mine reads my blog, I love you!

Next week's post will be a bit delayed, but well worth the wait!  Check back on June 27th for a special surprise and some great card making techniques.

Monday, June 11, 2012

Happy Anniversary - Cards with Love

Paul and I recently celebrated our eighth wedding anniversary, and as we do for most big events, we made each other cards.


Paul loves to quill, and this year, he used my heart dies to cut a lovely background for a dragonfly.

Since the heart dies were new, I was excited to use them, too.  I folded a sheet of paper in half, and die cut the paper so that part of the fold was inside the die.  On the outside, I adhered a piece of the embellishments from the Dream in Color kit before cutting the die. The script stamp in the background is part of the "Love is kind..." bible verse from our wedding.

Here, you can see the inside of the card with the hinge.  On the left, I used mirror card and embellishments from the Club Scrap Dream in Color kit.  The bride and groom stamp is from Hero Arts, and we used that for our wedding favors. The right has another heart, with a stamp and handwritten love note to Paul.

It's always fun to see what we come up with.  I love seeing how Paul uses basically the same materials to make a totally unique card.

If you missed our previous cards, you can check them out:
Most of the paper in the cards is from Club Scrap.  The heart die is from Stampin' Up! along with the little girl stamp on front.

Monday, June 04, 2012

A dozen cards in a jiffy

I love being creative and spending hours making a few cards, but I don't always have time for that.  On those days, Club Scrap comes to the rescue, with card making directions to make a bunch of cards with just a few sheets of paper.  Just like this one:


I used the instructions from Club Scrap's recent post, turned it ninety degrees, and shifted the components just a bit.  I also like to mat my images, so I used the scraps from the pattern and some extra scraps I had to create the pieces to stamp on.


The paper for these cards comes from Stampin' Up! (grey), and Club Scrap (Science - black & gold, Musical Interlude - maroon). The stamp on this one is from Scholarship - this would be great for those end-of-year teacher notes.

When you don't have a lot of time to craft, but need to make a bunch of cards, check out the Assembly Line Card Making deck - 52 ideas in one handy box (Volume 1 and Volume 2).

LinkWithin

Related Posts Plugin for WordPress, Blogger...