Monday, April 30, 2012

A Graduation Celebration - plus quick card tips

This week, I needed a quick card for a friend who just earned her graduate degree.  Here's my card for her:


You might notice it shares some similarities to last week's post.....  I am so busy this week at work with graduation that I didn't really have time to just play for a while and come up with the perfect card.

So, what do you do when you're too busy to make a card but need one?  This is what I do:

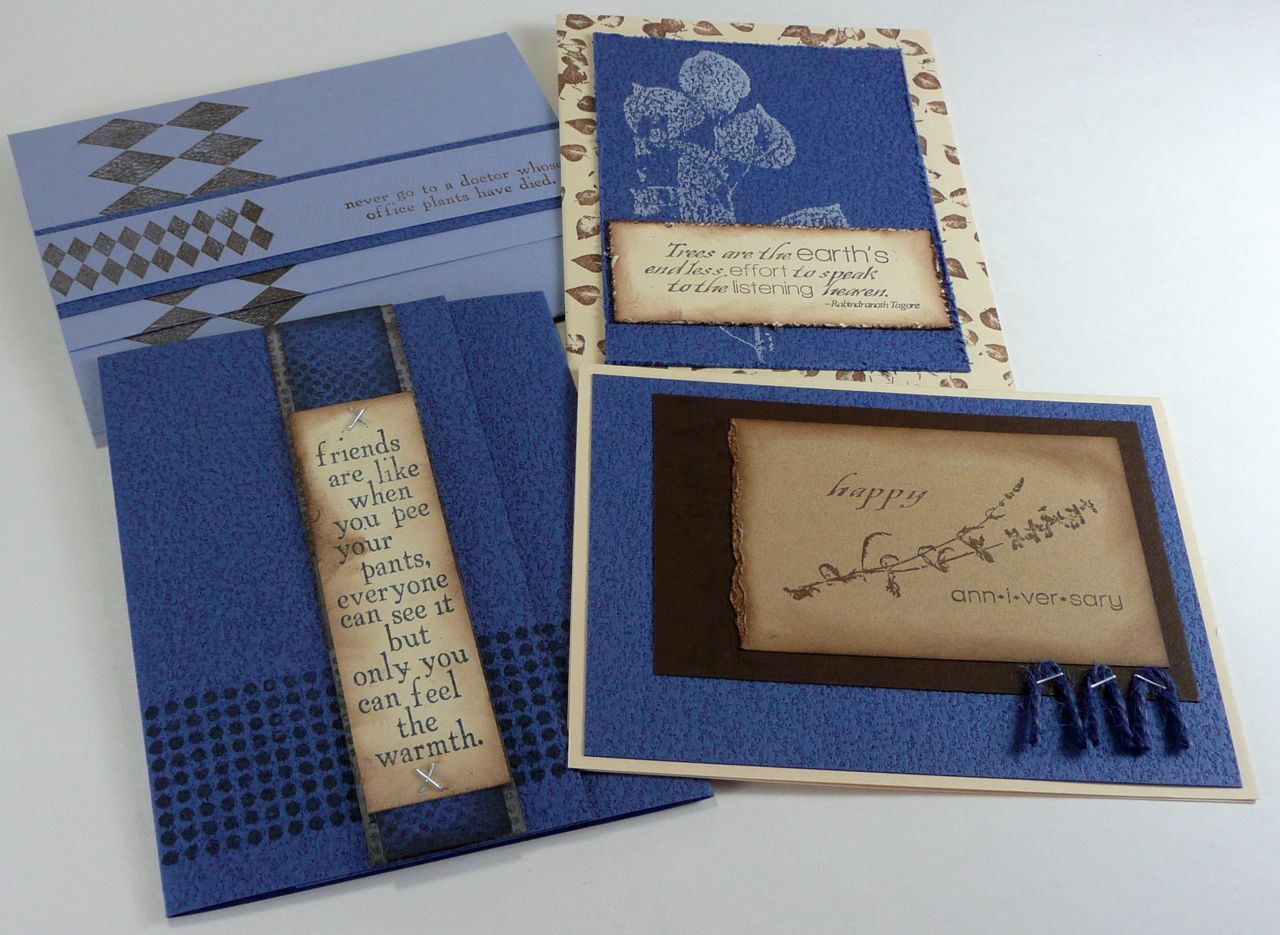
  • Use what's on my desk.  Invariably, I have scraps left over from other projects, and these often end up being my favorite cards.
  • Be inspired by what's around you.  The sun is shining, and I feel like spring! My graduation cards usually match the school colors, but that wasn't getting me excited about crafting this week.
  • Use some pre-cut pieces - when I made my last set of cards, I pre-cut some additional cards and panels that didn't work for that project, but they were perfect for this card.
  • Finally, don't reinvent the wheel - I jumped on the banner bandwagon last week, so I'm staying on it for a while!
  • Start with a kit.  I didn't do that on this project, but if I'm stuck for time, I just follow the instructions.  Creativity will show up when it needs to!
  • Use something new - the baker's twine just arrived in the mail, so I'm using it!
Everything this week is from Club Scrap:

Monday, April 23, 2012

Banners for a Happy Birthday Card

I'm a bit late, but I'm jumping on the banner bandwagon!  Here's a look at one card I made:

To start, I trace the banners using this super-cute stencil from the "Come Sail Away" kit from Club Scrap.  I trace on the back side of the paper so my pencil marks won't show.

Cut the banners out using scissors.  Since I'm going to be folding these, I decided not to cut the points on one end.

I stamped letters on each of the banners on the plain side.

On the back side, I placed a score line that will end up about 0.25" above the top of the letter.

Now that I know where I'm going to fold, I cut off the banner so there is about a 0.25" flap on the banner.

Fold the flap.

Use an ink applicator (I love these pan pastel round knife for getting into the small areas on the banner; other tools are handy, too) to ink the edges.

After doing a few of these, I realized that a longer flap on the back would be great to hang onto the banners while inking, so if you prefer, wait to cut your flaps until after you ink the front of your banner pieces.  Attach the banner pieces to a piece of baker's twine using the tiny attacher by Tim Holtz.

One finished banner looks like this:

While you're making one card, it's always better to make two! I just did everything twice, and played with some die cut flowers to embellish the cards up a bit. On this card, I stapled the ends of the twine to the card.

Here is a close up of the finished banner.

My sister-in-law loves blue, so I made this card for her.  The card base is blue, and the ink is blue.  I love making special cards and playing with new techniques and tools.

All of the papers in this card were from the Birds of a Feather kit by Club Scrap.  I love the bright, spring colors in these papers - they make me smile!

Monday, April 16, 2012

Who doesn't love pockets in books?

I  have a fascination with pockets in books.  They are great for holding things (like CDs or programs) and make the book interactive.  Here's the cover of a new book I recently made:

Here's a close-up of the niche - the cover is made from foam core board, so it was super easy to cut a window into it:

Open it up, and every other page is a pocket!  I put some white "pages" inside the pocket, but think about putting a CD of photos, or movies inside the pocket:

I made a book for a friend with some of it decorated with pictures, and then put the CD of all of the pictures in the back. It's a great way to share the memories of a special event without printing every photo and it lets your recipient choose what they'd like to include, too.

This book is stitched with waxed linen thread over ribbons, and has a really nice feel to it since the covers are light and thick.  I'm having a lot of fun experimenting with this new structure, and will share more examples in the coming weeks.

I think this book would be perfect to collect memorabilia from a sea-side vacation or for anyone who loves beach themed items.  The turquoise and aqua colors are so bright and cheery!  It's made from cover weight card stock from Club Scrap.

Monday, April 09, 2012

Share the love - card boxes from Club Scrap

Who couldn't use a few extra cards for those occasions that pop up?  Even better than having a few cards is having a box to put them in.  It makes these perfect for gift giving, and great to put on your desk.  I had a lot of fun making these two boxes.  One is headed toward a charity auction, and the other is available in my etsy shop.  If you prefer to make them, the stamps and kit are still available from Club Scrap.

These are the boxes as I finished them.  I used lots of distress ink (dusty concord, fired brick, dried marigold) on the manilla panels in bright colors, and then aged it with the Club Scrap Earth ink on the edges on top.  The stamps on this box are from the Natural Resources kit (no longer available).

A little ribbon and a perfect bow finish off the top nicely, I think. The background stamp on this box is from the Comfort Zone kit, and the Short Sleeve Pants borders (no longer available).

Opened up, each side holds at least 4 invitation sized cards and envelopes.  The boxes are made from heavy cardstock - the bottom is double thickness to make it even sturdier.


The cards themselves were cut using Club Scrap's Assembly Line method.  This cuts every scrap of paper into cards and panels, and then gives you recipes for assembling them.  I love these instructions, because it jump starts my creativity, and they're great to bring to a crop.  After doing a few similar to theirs, I worked in some of the Natural Resources stamps, and created my own take.


I like using a single small stamp around the edge of the manilla to create a frame.  It looks like I stamped all over, but it's actually just the edges.


My "perfect" bows come from using the bow easy tool.  Just love that little tool - very easy, inexpensive, and has helped me use a lot more ribbon!


I really love using Tim Holtz' tiny attacher to staple ribbon to card (above) or provide a little accent on a greeting strip (below).


Don't forget to use white ink - it looks great on this darker panel.  I also roughed up the edges using the Tonic Studios Paper Distresser.

I love having a few extra cards around when birthdays sneak up on me, or I need a quick card to thank someone.  The box makes it extra special, and perfect for gift giving.

LinkWithin

Related Posts Plugin for WordPress, Blogger...