Sunday, June 27, 2010

Iris folding - collage paper

At the Club Scrap retreat last year, I picked up this fabulous collage paper that we used to make a project.  The paper was so gorgeous, I needed more.  After we did the iris folding project this week, I got to thinking about what other text weight paper I had around, and I decided to try iris folding with some of the scraps left over from the original project.


Iris folding sympathy


The pattern I used is found on page 165 of 460 Iris Folded Cards to Make.  I just ordered this book, and love having so many new patterns available.

I am so happy with the result!  Sometimes with iris folding, you can easily get eye-bending patterns that almost make you dizzy if the color selection isn't good.  I think this paper works because although it is busy, the colors within it are harmonious.  For my second color, I chose to pick black, since it's a neutral, and is prevalent in the patterned paper.

When you're iris folding, look at how many pieces are needed for the first round.  For this example, there are four, and I could:
  • Use four different colors so each swirl is a different color
  • Use two different colors, so every other swirl is a different color
  • Use one color, so all of the swirls are the same color (not very interesting most of the time, but sometimes is a nice subtle effect)
When using multiple colors, make sure to pick colors that don't fight with each other.  With patterned papers, I try to pick patterns that are small enough to show a bit of the pattern in each stripe.

Have fun picking papers and trying new color combinations - trust me - this is addicting once you get started!

All papers and stamp are from Club Scrap.  The ribbon slide is a die cut from Spellbinders.

Wednesday, June 23, 2010

How to make a post bound album

Post bound albums are great for scrapbooks, but sometimes I can't find one that matches the theme I'm interested in.  I'll show you how to make your own album sized to fit your page protectors.

First, measure your page protectors.  The cover will be 0.25" larger on both sides than the page protector.  My page protectors are about 6.25" x 7.25", so my cover will measure 6.5" x 7.5".  My pencil drawings help me to visualize the project along the way.  I usually exaggerate the difference between the height and width to make it easier to visualize the final orientation of the pieces.


Cut two covers, and two spines (1" x 6.5") from a sturdy piece of bookboard or dense cardboard.  After I've cut the first strip of board 6.5 inches wide, I use the finished piece to act as a guide for the rest of the cutting.  This makes the pieces uniform, and saves a bit of time with lining the ruler up.

I like to lay my pieces out at this point.


Punch holes in one spine to correspond with the holes on your page protectors.  My picture shows me checking my pencil marks before I punch the holes.  In some of these photos, you will see that I use a pencil to mark things as I go along.  The confusing thing about post post albums is that the spine will fold over and be on top of the cover when it's finished.  Keeping track of the pieces is easier if you make notes to yourself in pencil.


Use the first spine as a template to create holes in the second spine.  Remember that the outsides of the spines will be touching when the book is assembled, so be sure to orient the spines with the tops matching and outsides touching.

Cut paper to cover the outside of the book.  I like to have 0.75" overlapping on each edge, so the height of my paper will be 1.5" taller than the height of the cover.  In this case, I'm going to use two different papers on the cover, so I'm going to draw a line on the front where I want the first paper to end.

Apply glue to the cover, spread with a brush, and place the paper on the cover.

Apply glue to the raw edge of the board, and lay the second piece of paper on the spine edge.  When cutting your pieces, make sure that there is at least 0.75" over on each edge.

To place the spine, use an acrylic ruler to butt up against the cover.  Apply glue to the spine, and butt up against the ruler.  Make sure there is 3/8" between the spine and cover.  This will allow for good folding when the book is finished.  This assumes that your cover pieces are about 1/8" thick.  The space between the spine and the cover should be a little  more than twice the thickness of the board for this type of book.

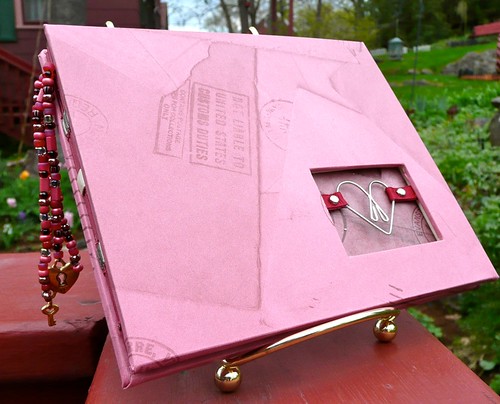
Punch holes in the red paper.  If you don't do this now, you may lose your holes!  I like to use an anywhere hole punch with a tapered end - my favorite is by Making Memories.  This makes the holes a bit larger to accommodate my posts.  This will take quite a few passes, so be patient!


Cut the corners off the paper, leaving about 1/8" between the edge of the board and where you cut.  Use a bone folder to crease along all edges and fold the paper up over the board.  Need more details on how to cover book board?  Check out my earlier tutorial (but ignore the part with the style stone!). I also do a practice folding with the spine to get it loosened up a bit.

Cover the inside with a piece of paper.  When laying the paper over the "gutter" between the spine and cover, use your thumb to gently press the paper into the gutter.  This will help the cover fold nicely later.

From the front side, punch holes with the anywhere hole punch through the inside paper.  If this is too cumbersome, you can also use a regular hole-punch.

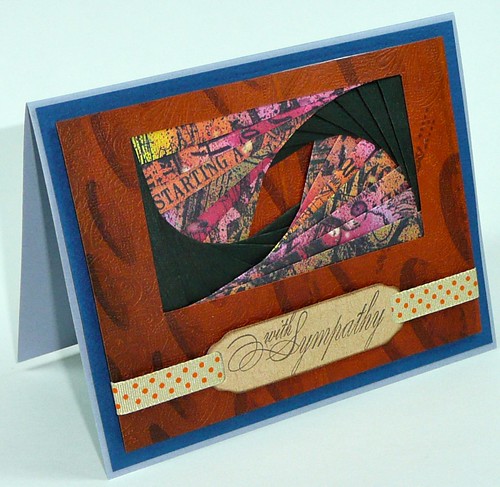
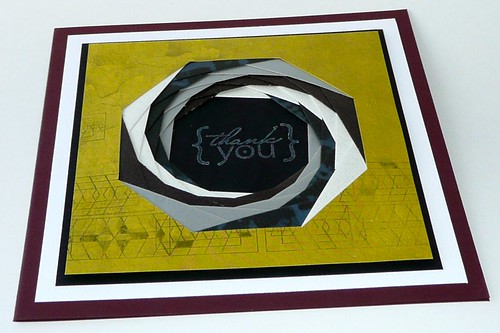
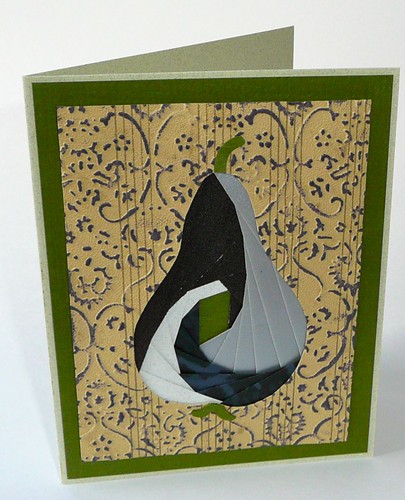
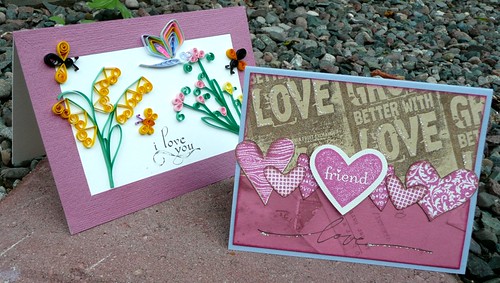
With the scraps, create a card and step back to admire your work!


Post bound book and card


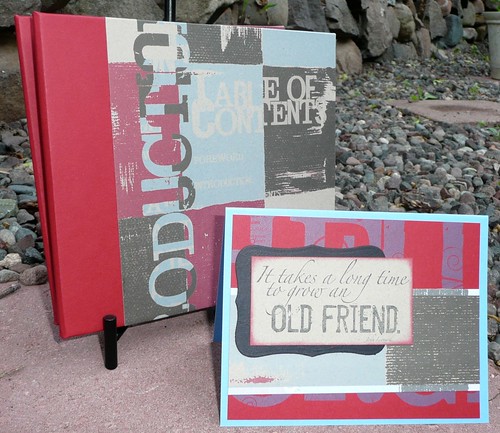
This album is a friendship book for a friend who is leaving our community.  I've made two similar books for two different friends.  The pages in the book were created by our friends so that they have a memory of us when they move.


Inside page of post bound book


Let your friends know how special they are by creating a gift for them.  This one is definitely from the heart.  All pictured paper and stamps from Club Scrap.

Saturday, June 19, 2010

Iris folding - four cards

This weekend, I'm participating in a really great online event.  It's called "Weekend of Workshops" (aka WOW) and is sponsored by Club Scrap.  I pre-ordered a gorgeous box of supplies that arrived last week, and today they had an online chat and released videos of the projects they sent us.

The first project I tried out was this iris folded card.


Iris folding - Club Scrap WOW


Iris folding is a really old technique, and there are lots of great tutorials and patterns available on the web.  This tutorial is a nice explanation of the technique, and this page has a lot of great links to learn more about this technique.

After taking the effort to fold all of the strips of paper, I was inspired to try some different patterns from my collection.  This one is a pear pattern from the The Complete Iris Folding Compendium.


Iris folding - pear


I liked this card, but I saw a pattern where the panel was embossed, and I was inspired to emboss the panel first and then rub ink on it.  I'm still not sure if this is crazy-cool or just plain crazy, but I like it.


Iris folding - vintage pear


Finally, I made a card using a coffee pot pattern from the The Complete Iris Folding Compendium.  I had yet to break out the Mocha Java Remix stamps from Club Scrap, so this was a perfect excuse to get those out.  This is probably my favorite card.  I love the saying (Retirement: world's longest coffee break), and the colors.  Who can resist a coffee stain stamp?


Iris folded coffee pot


My favorite books for iris folding are by Maruscha Gaasenbeek and Tine Beauveser.  Some of them are out of print, and some are still available.  It looks like the The Complete Iris Folding Compendium is now available - I may have to get that! (edited:  I have it on order!  This book combines nine of their books into one volume.  It really is an amazing value, and their patterns and ideas are fabulous.)

All paper is from Club Scrap - I raided my scrap drawer, so these are mostly mixed kits.

I'm going to tackle the next project in my kit now!

And, don't forget to leave a comment on this post to have a chance to win some handmade goodness from my house to yours.

Wednesday, June 16, 2010

Greeting cards with love - and a giveaway!

The giveaway for this post is now closed.  See this post to find out the winner and answer!


My husband and I have been married for six years, and together for over ten.  Some time ago, we both started making cards for each other for birthdays, anniversaries, and holidays.  He says he's forbidden to buy cards, but I say he has a secret yen to be a crafter.  Here are our anniversary cards for this year.


Anniversary Cards


Can you tell which one was made by my husband and which by me?

The first card features a variety of quilled flowers, a butterfly, dragonfly and a pair of bees.  Border paper and stamp are from Club Scrap.  The border was created with strips of paper that have been mitered at the corners - a very clever way to make a frame and use up those scraps!

The second card features stamps by Club Scrap and Stampin' Up!  SU's "I {Heart} Hearts" set coordinates perfectly with their heart punches, making it easy to make a border of hearts in minutes.  Crystal stickles were used to highlight the word "love" on each of the stamped images.  The complete saying on the top stamp says, "All things grow better with love."  A partial image was used to create a background for the top.

Have you guessed yet?  Leave a guess in the comments, and I'll pick a random winner from anyone who comments.  The winner will get a little handmade gift from me.  Post your comment before 8pm EDT on July 1st to be eligible for the giveaway.

Monday, June 07, 2010

A book with a heart in a window

When I made my first window book, I loved it, but working with the extra thick board needed to make the tile float was a bit challenging.  I tried a thinner item - a heart paperclip.
Heart paperclip in window

Inside the book, I made a little pocket to cover up some raw edges.  (See my pocket tutorial)  On this pocket, I stamped some images using a masking technique.
Inside of book with pocket

If you missed the first time I made a book like this, check out my original series:

  1. Created the covers (for this book, I used thinner bookboard)
  2. Added the floating element to the cover
  3. Assembled the book
  4. Finished book
I'm wondering what else I have that can be put in a window - I think the possibilities are endless!

All materials from Club Scrap - the To You with Love Kit from February 2004.

Wednesday, June 02, 2010

Kreativ Blogger Award!

I'm just so excited that two of my fellow bloggers have recognized me with the Kreativ Blogger Award.
Many thanks to Anne - made and ocasiacasa for letting me know I inspire them - most especially because they inspire me, too. Anne - made is a multi-faceted crafty lady who plays with alcohol inks, copic markers, and generally has fun with ink and stamps.  She has some great ideas and techniques to share with you. ocasiacasa has some of the most stunning photography I've seen on the net, and it is so fun to see how the natural world around them inspires their art work.  I hope you check both of their blogs out.

So, in honor of receiving the award, I will continue the tradition of sharing seven things you probably don't know about me, and seven blogs that also inspire my creativity.

What you don't know about me
  1. I'm an only child - but I'm not spoiled!  Honest!  This will probably be the first post my parents or husband comment on...

  2. In just a few days, I will be married for six years to the love of my life.  Paul and I enjoy adventures, and seem to find one no matter where we are.  This photo is just after we got engaged on the top of the mountain in Sun Valley, Idaho.

  3. When I was a teenager, I entered my artwork in a calendar contest and won!  It was such a thrill to see my artwork in print, and I still have the painting I made on the wall in our bedroom.
  4. I learned to swim when I was 25, overcoming a life-long fear of the water.  After all of that effort, I decided I didn't really like swimming all that much.

  5. My cooking speciality?  Spaghetti sauce - we make several gallons in a batch, and it is good.  I have people ask me for the recipe, but I really don't have one.  My mom taught me how to make it, and I just keep modifying from there.
  6. I'm an engineer by training, but since the titles of my degrees usually makes people stare at me with glassy eyes, I'll leave it at that.


  7. I have never lived more than a mile from a lake.  It's seriously strange that I don't like to swim.


Seven blogs that inspire me
First off, you need to visit Anne - made, and ocasiocasa to see their picks.  We share some of the same great taste!  It was hard to limit myself to seven, but here goes...
  1. Bead circle - I don't bead (much), but Mandi makes it look so easy and fun that I have found some supplies and am getting ready to try this hobby out again.  She has such a friendly vibe on her blog, and she really shares her heart with her readers.
  2. Wendolonia - The pictures of her bento boxes are just fabulous, and they make me want to make a better lunch for myself. Do they make these boxes in adult size?
  3. all things paper - the name pretty much says it all.  I love Ann's eye for finding really unique paper items on the web, and how she showcases quilling.
  4. Purple Onion Designs - I've been following Michele virtually for many years now - first on twopeasinabucket.com and now on her blog.  She is a crafty entrepreneur, who has created her own stamp line, and has a really great eye for her design team.  She generously shares a lot of herself in all of her endeavors.
  5. Craft Sanity - Love the podcast (although I'm a bit behind in episodes!), and the blog.  The philosophy of crafting to keep sane which ends every podcast really rings true for me.
  6. *Craft Chaos* - Among Club Scrap bloggers, who else posts in Dutch and English? To know Hetty is to love her.  Check her out, and you'll love her, too.
  7. Flutter by atomicbutterfly - gorgeous eye candy.  I want to bookmark and try everything.  I love her vintage style and how she uses ribbon.
Who are you inspired by?  Why don't you let them know by dropping a comment on their blog.  I can guarantee you'll make their day.

LinkWithin

Related Posts Plugin for WordPress, Blogger...