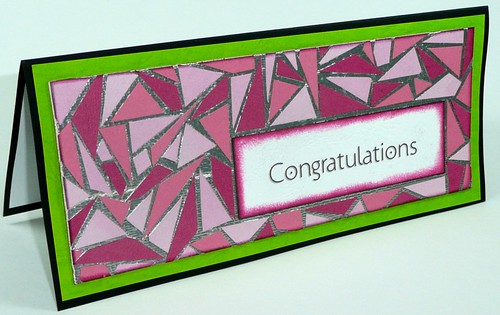
This technique comes from the "Carpet Tape Chronicles - Part 3" that Club Scrap published as video tutorials. This is the only technique they did that I found only worked with the carpet tape, so you need a roll of this tape (found at your local DIY store) to try this out. The other techniques can use other adhesives you have on hand - a xyron works well for most, for example.
For these cards, I learned a few things...
- Try to cover the seams of the tape with your design. In the second card, you'll see a bit of a white line to the left of the white panel. In the top card, I put the solid paper across the seam to avoid this.
- Make your panel the right size the first time! This tape is quite sticky, and you will have a hard time cutting this tape after you've made your piece. It will also be three cardstock layers thick when you're done, so cutting will be difficult, no matter what kind of trimmer you use.
- You will get bits of the embossing powder on your scraps of paper, but don't worry about it. For most of my embossing, I rub an embossing anti-static bag over my paper. With this project, the anti-static powder will stick to your tape, and you won't get the embossing powder to stick to the adhesive.
- I did try this earlier with my xyron adhesive, and it didn't work as well (see my earlier post). The embossing powder needs a strong adhesive, and the xyron adhesive is more heat sensitive. As I was heating the paper, the scraps started to curl up a little more than I liked.
Both of these cards were made from the Greetings to Go pack from Club Scrap's Pure and Simple kit. I love how these sets come complete with all of the cards, panels, envelopes, and embellishments you need to make a great card. I just added some carpet tape and scraps!


I love the mosaic look this technique gives and what a great way to use up those smaller pieces of scrap.
ReplyDelete